Creating your first repository
For each assignment in CAPP 30121, we will provide you with an invitation URL that will allow you to sign up for the assignment on GitHub and which will result in the creation of a repository called XX-GITHUB_USERNAME inside our uchicago-CAPP30121-aut-2022 organization. For example, if your GitHub username is jrandom and XX is camp-1, your repository will be called camp-1-jrandom. This repository will be private, and can be viewed only by you and the CAPP 30121 course staff.
Accepting the GitHub Classroom assignment
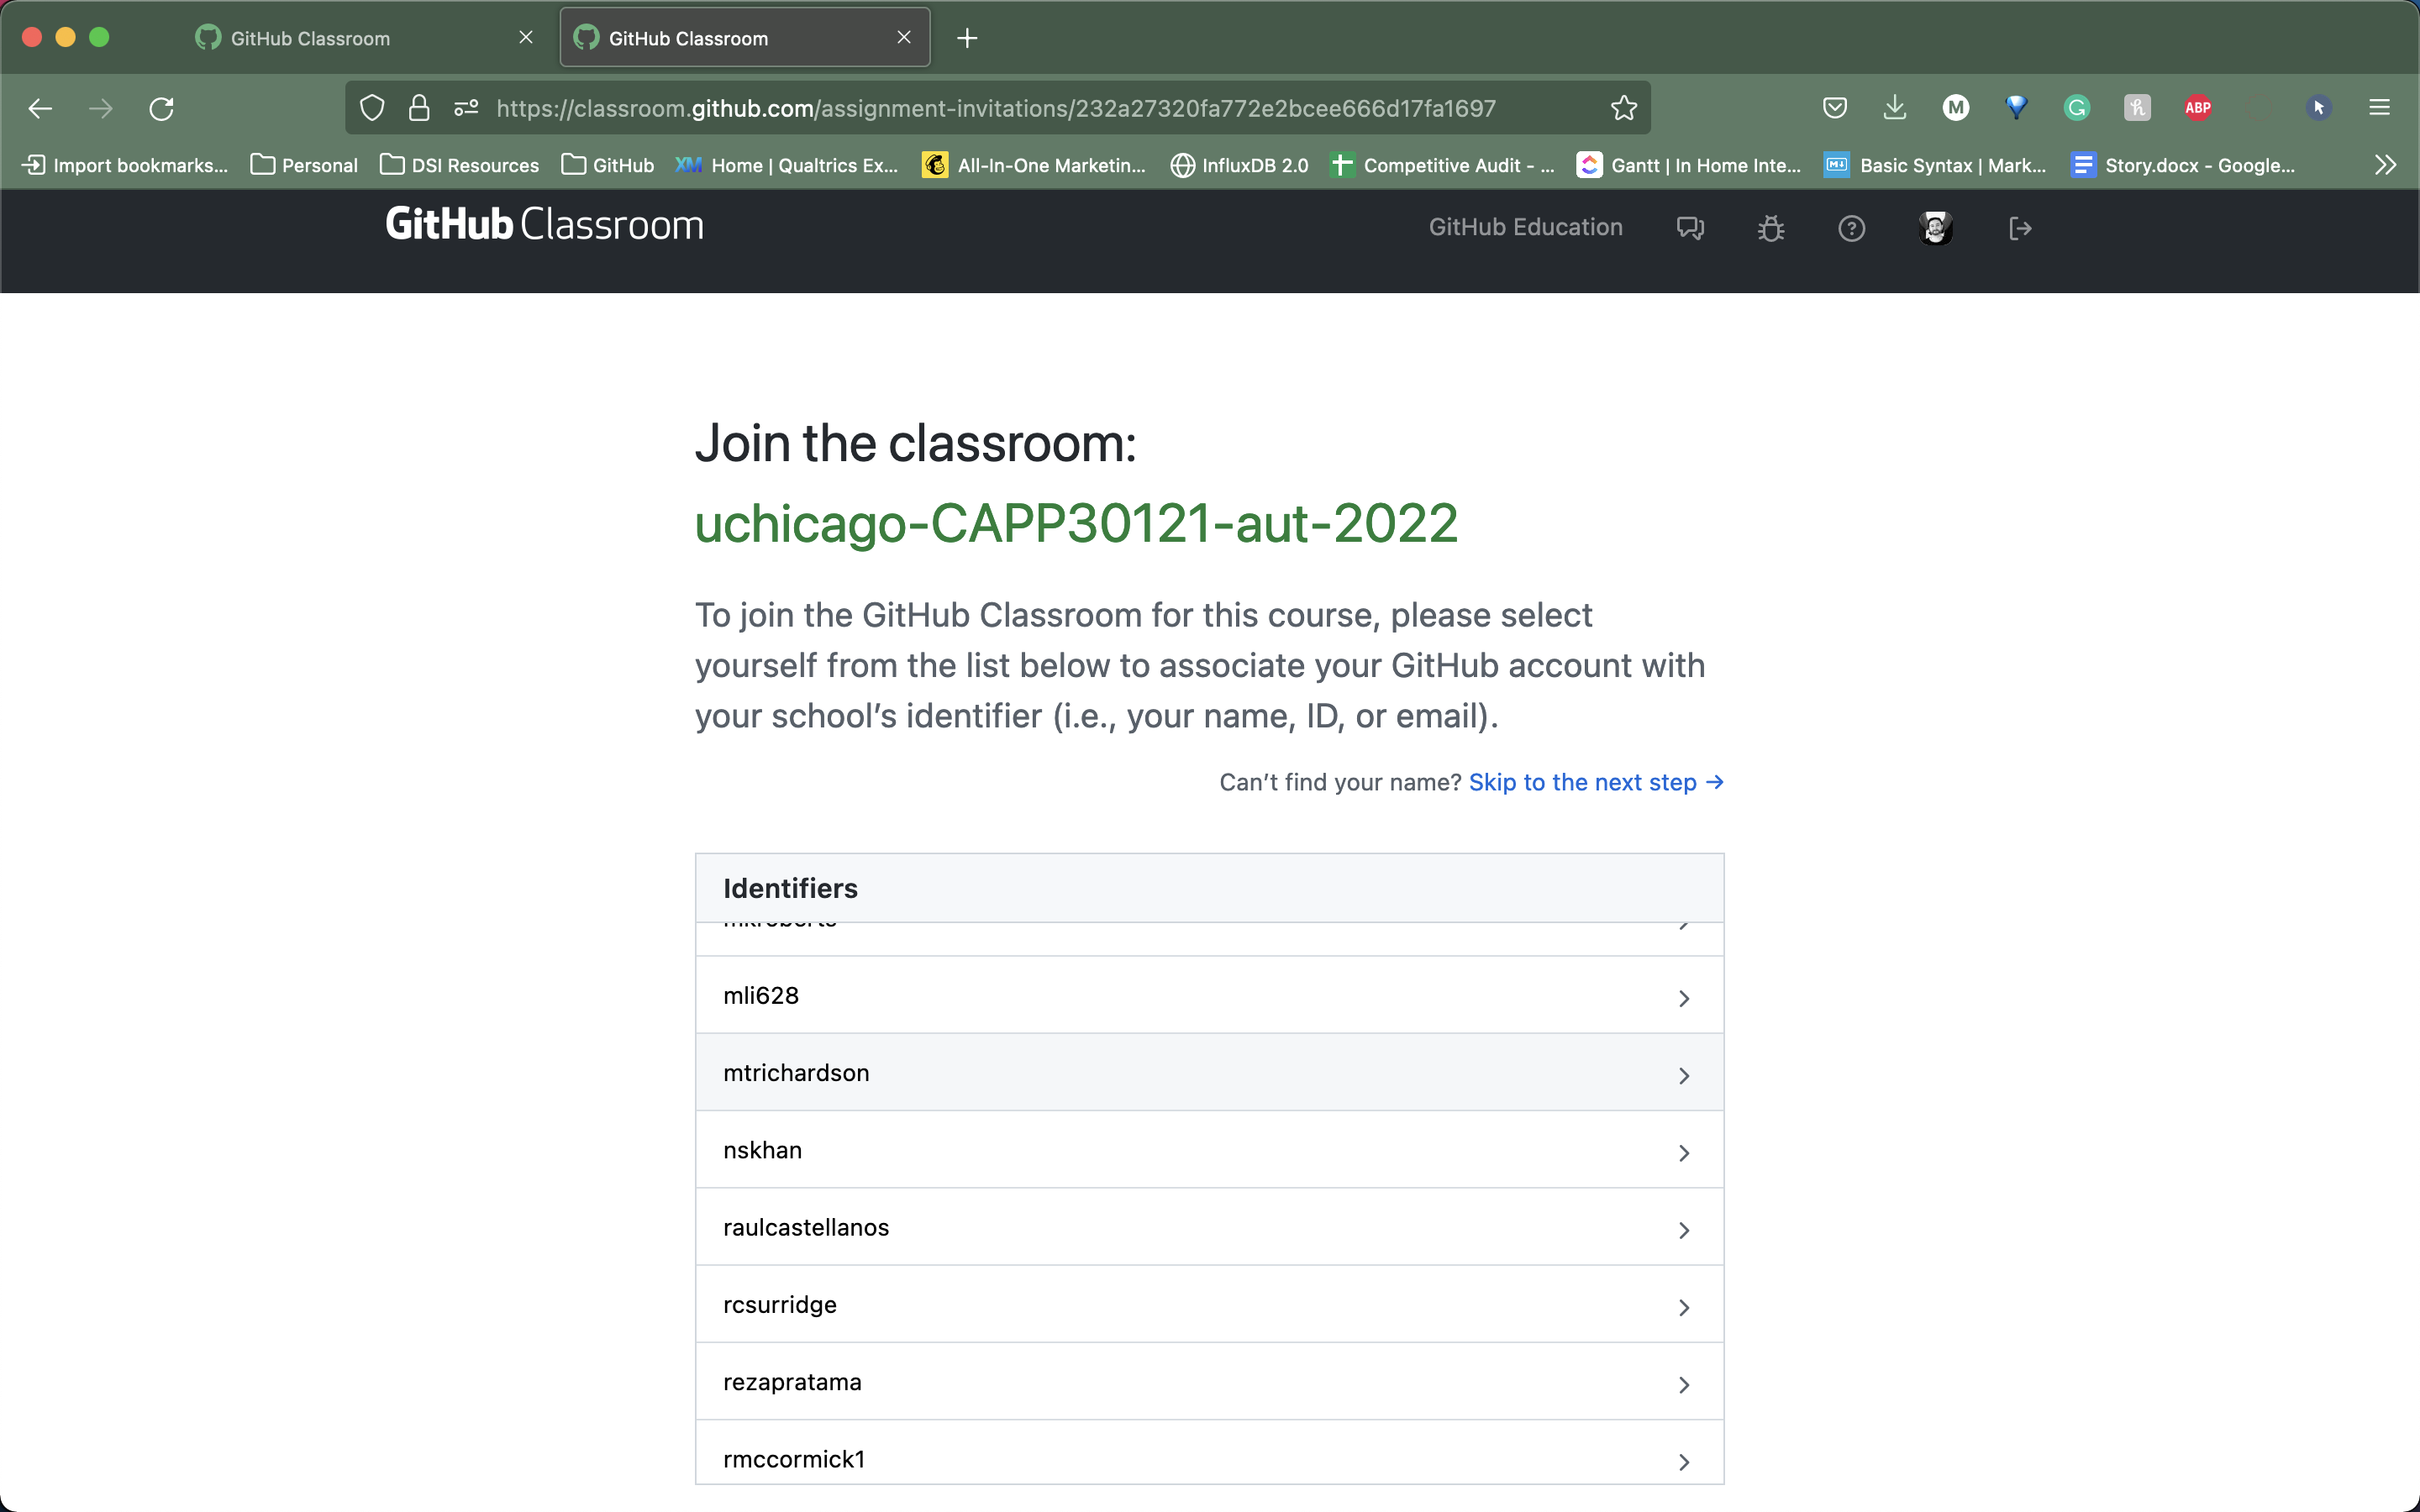
For this lab, use the camp-1 URL that we supplied on Ed. When you open the invitation URL in a browser tab, you will have to complete the following steps:
- You will need to select your CnetID from a list. This step will allow us to know what student is associated with each GitHub account. This step is only done for the very first assignment invitation you accept.
- You must click “Accept this assignment” or your homework repository will not actually be created.
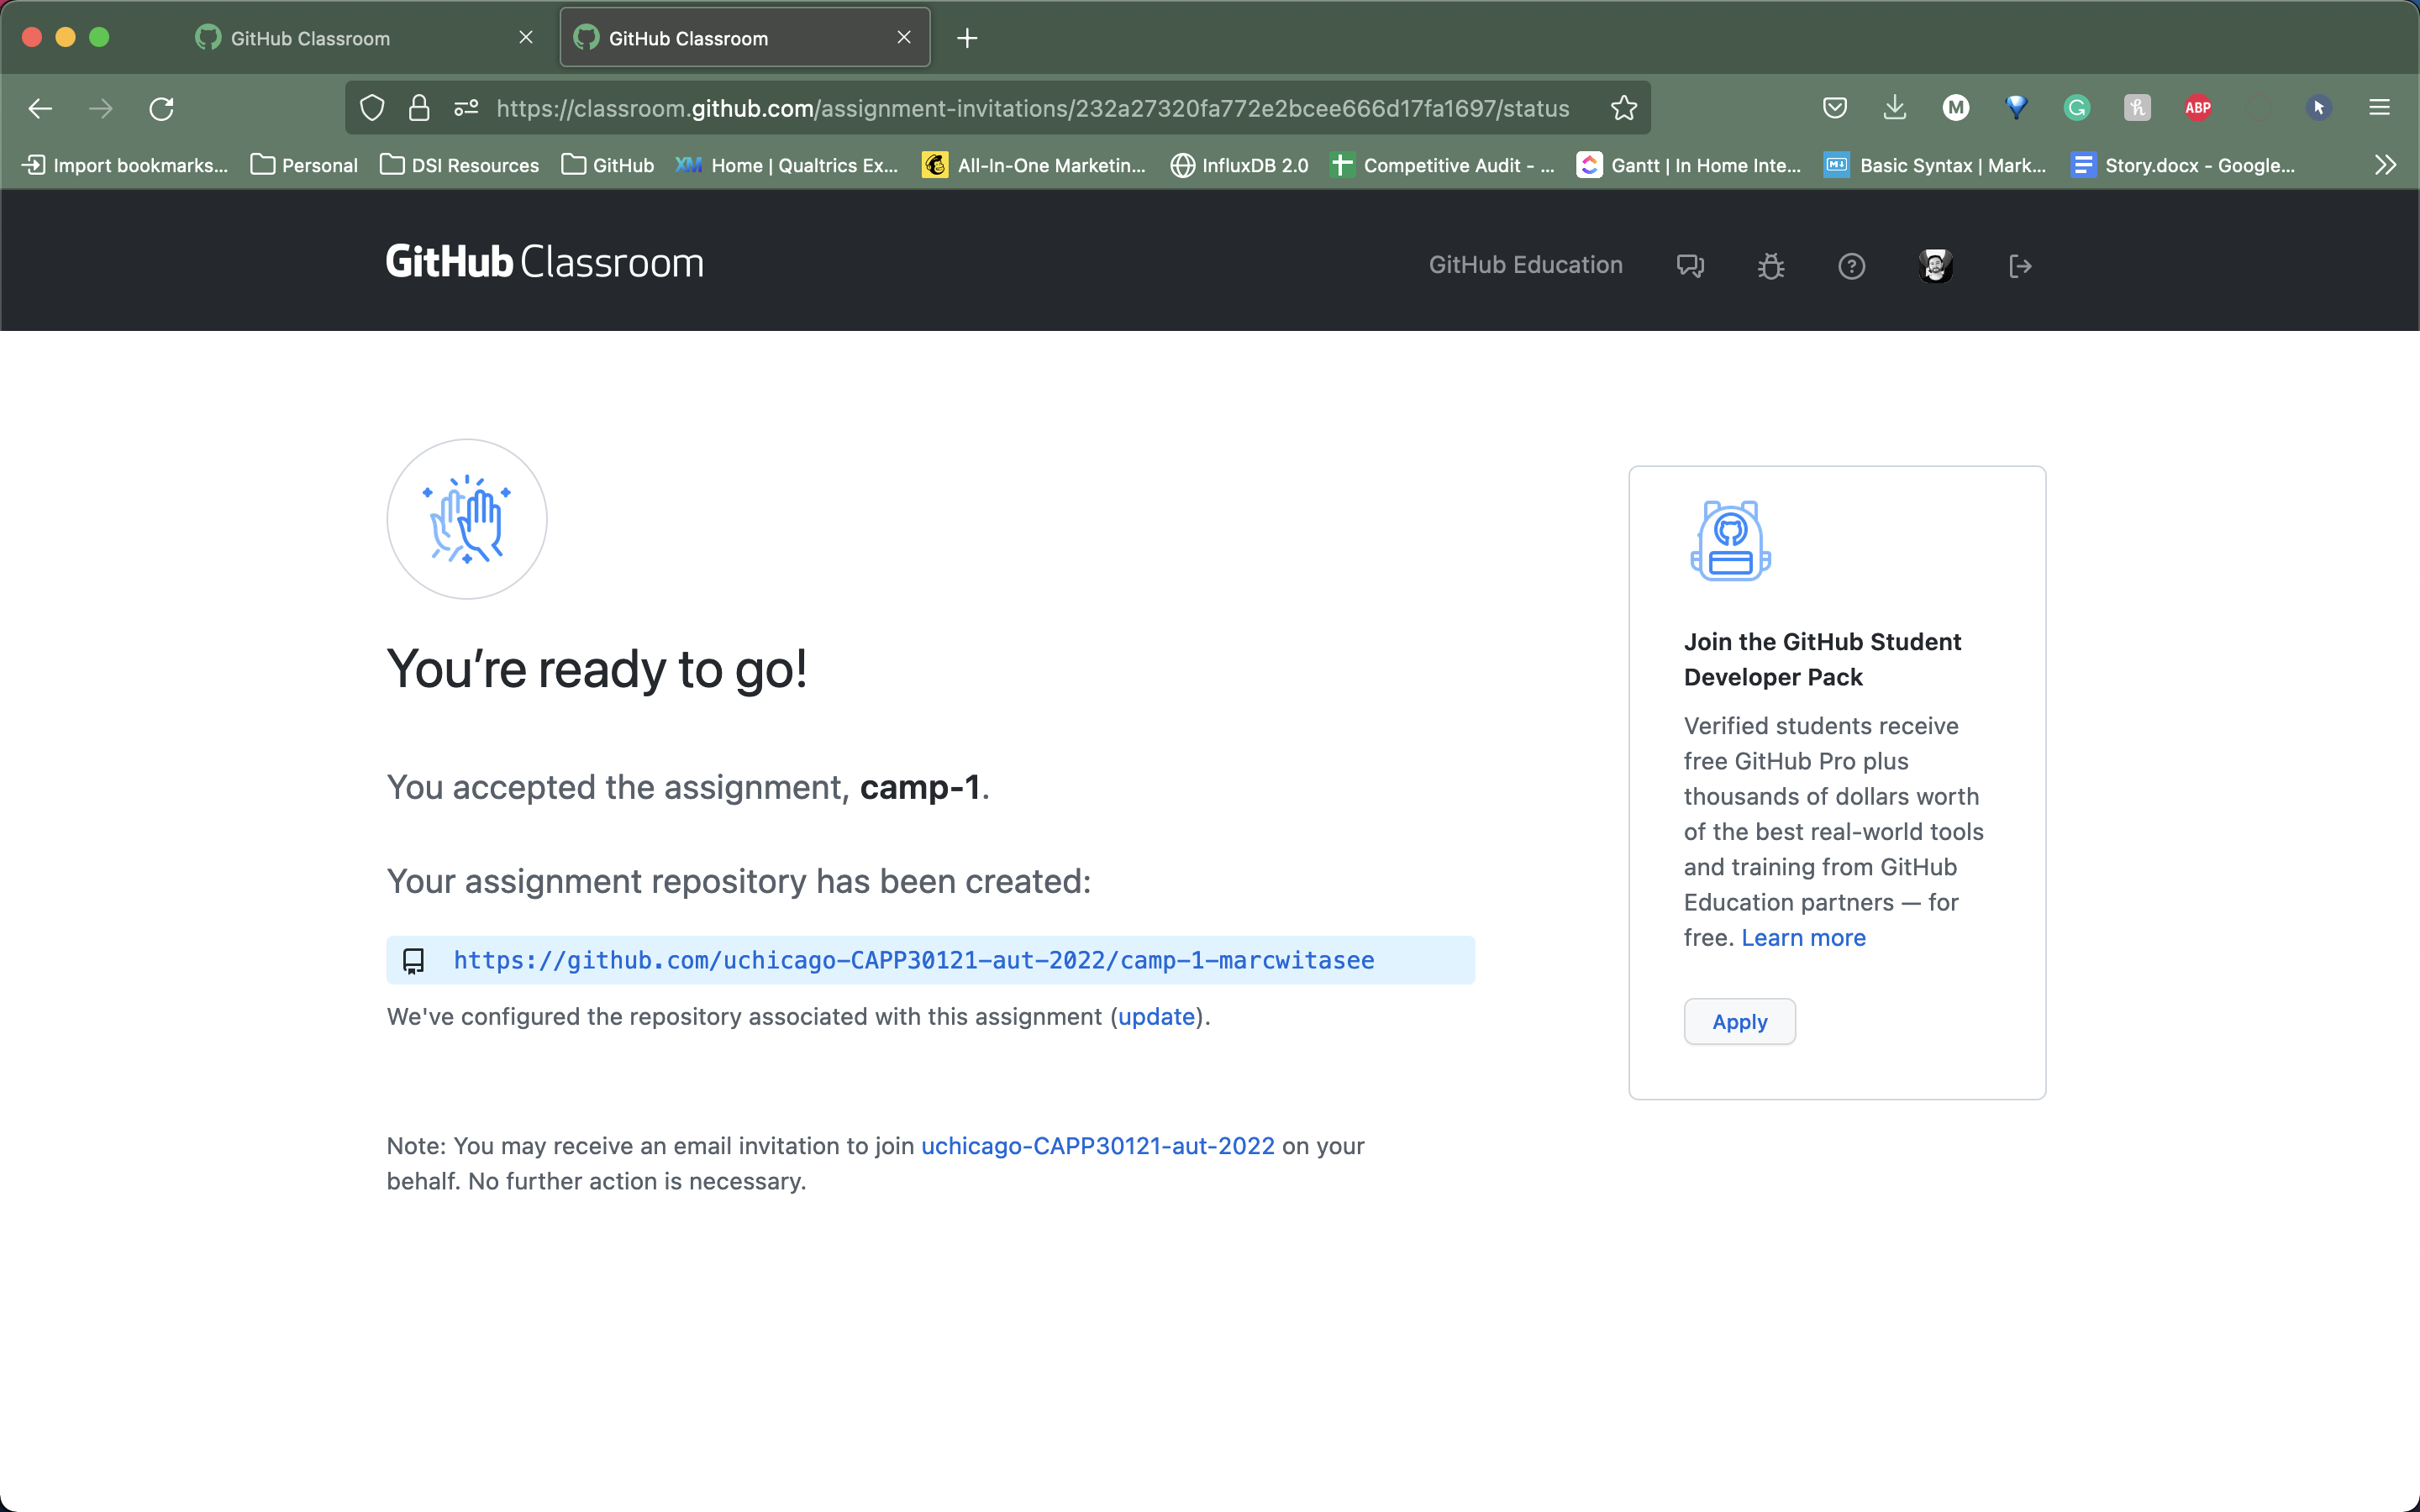
If you run into any issues, please ask for help.
Initializing your repository
You will start by initializing your repository. Your repository is hosted on GitHub, but you can create a local copy in your home directory on the Linux servers (we will refer to this as your local repository).
Log into GitHub. Your homework repository, uchicago-CAPP30121-aut-2022/camp-1-GITHUB_USERNAME should appear under “Recent Repositories” on the left side of the page. (If you don’t see a list of repositories on the left side of the page, try clicking on the GitHub Cat logo.)
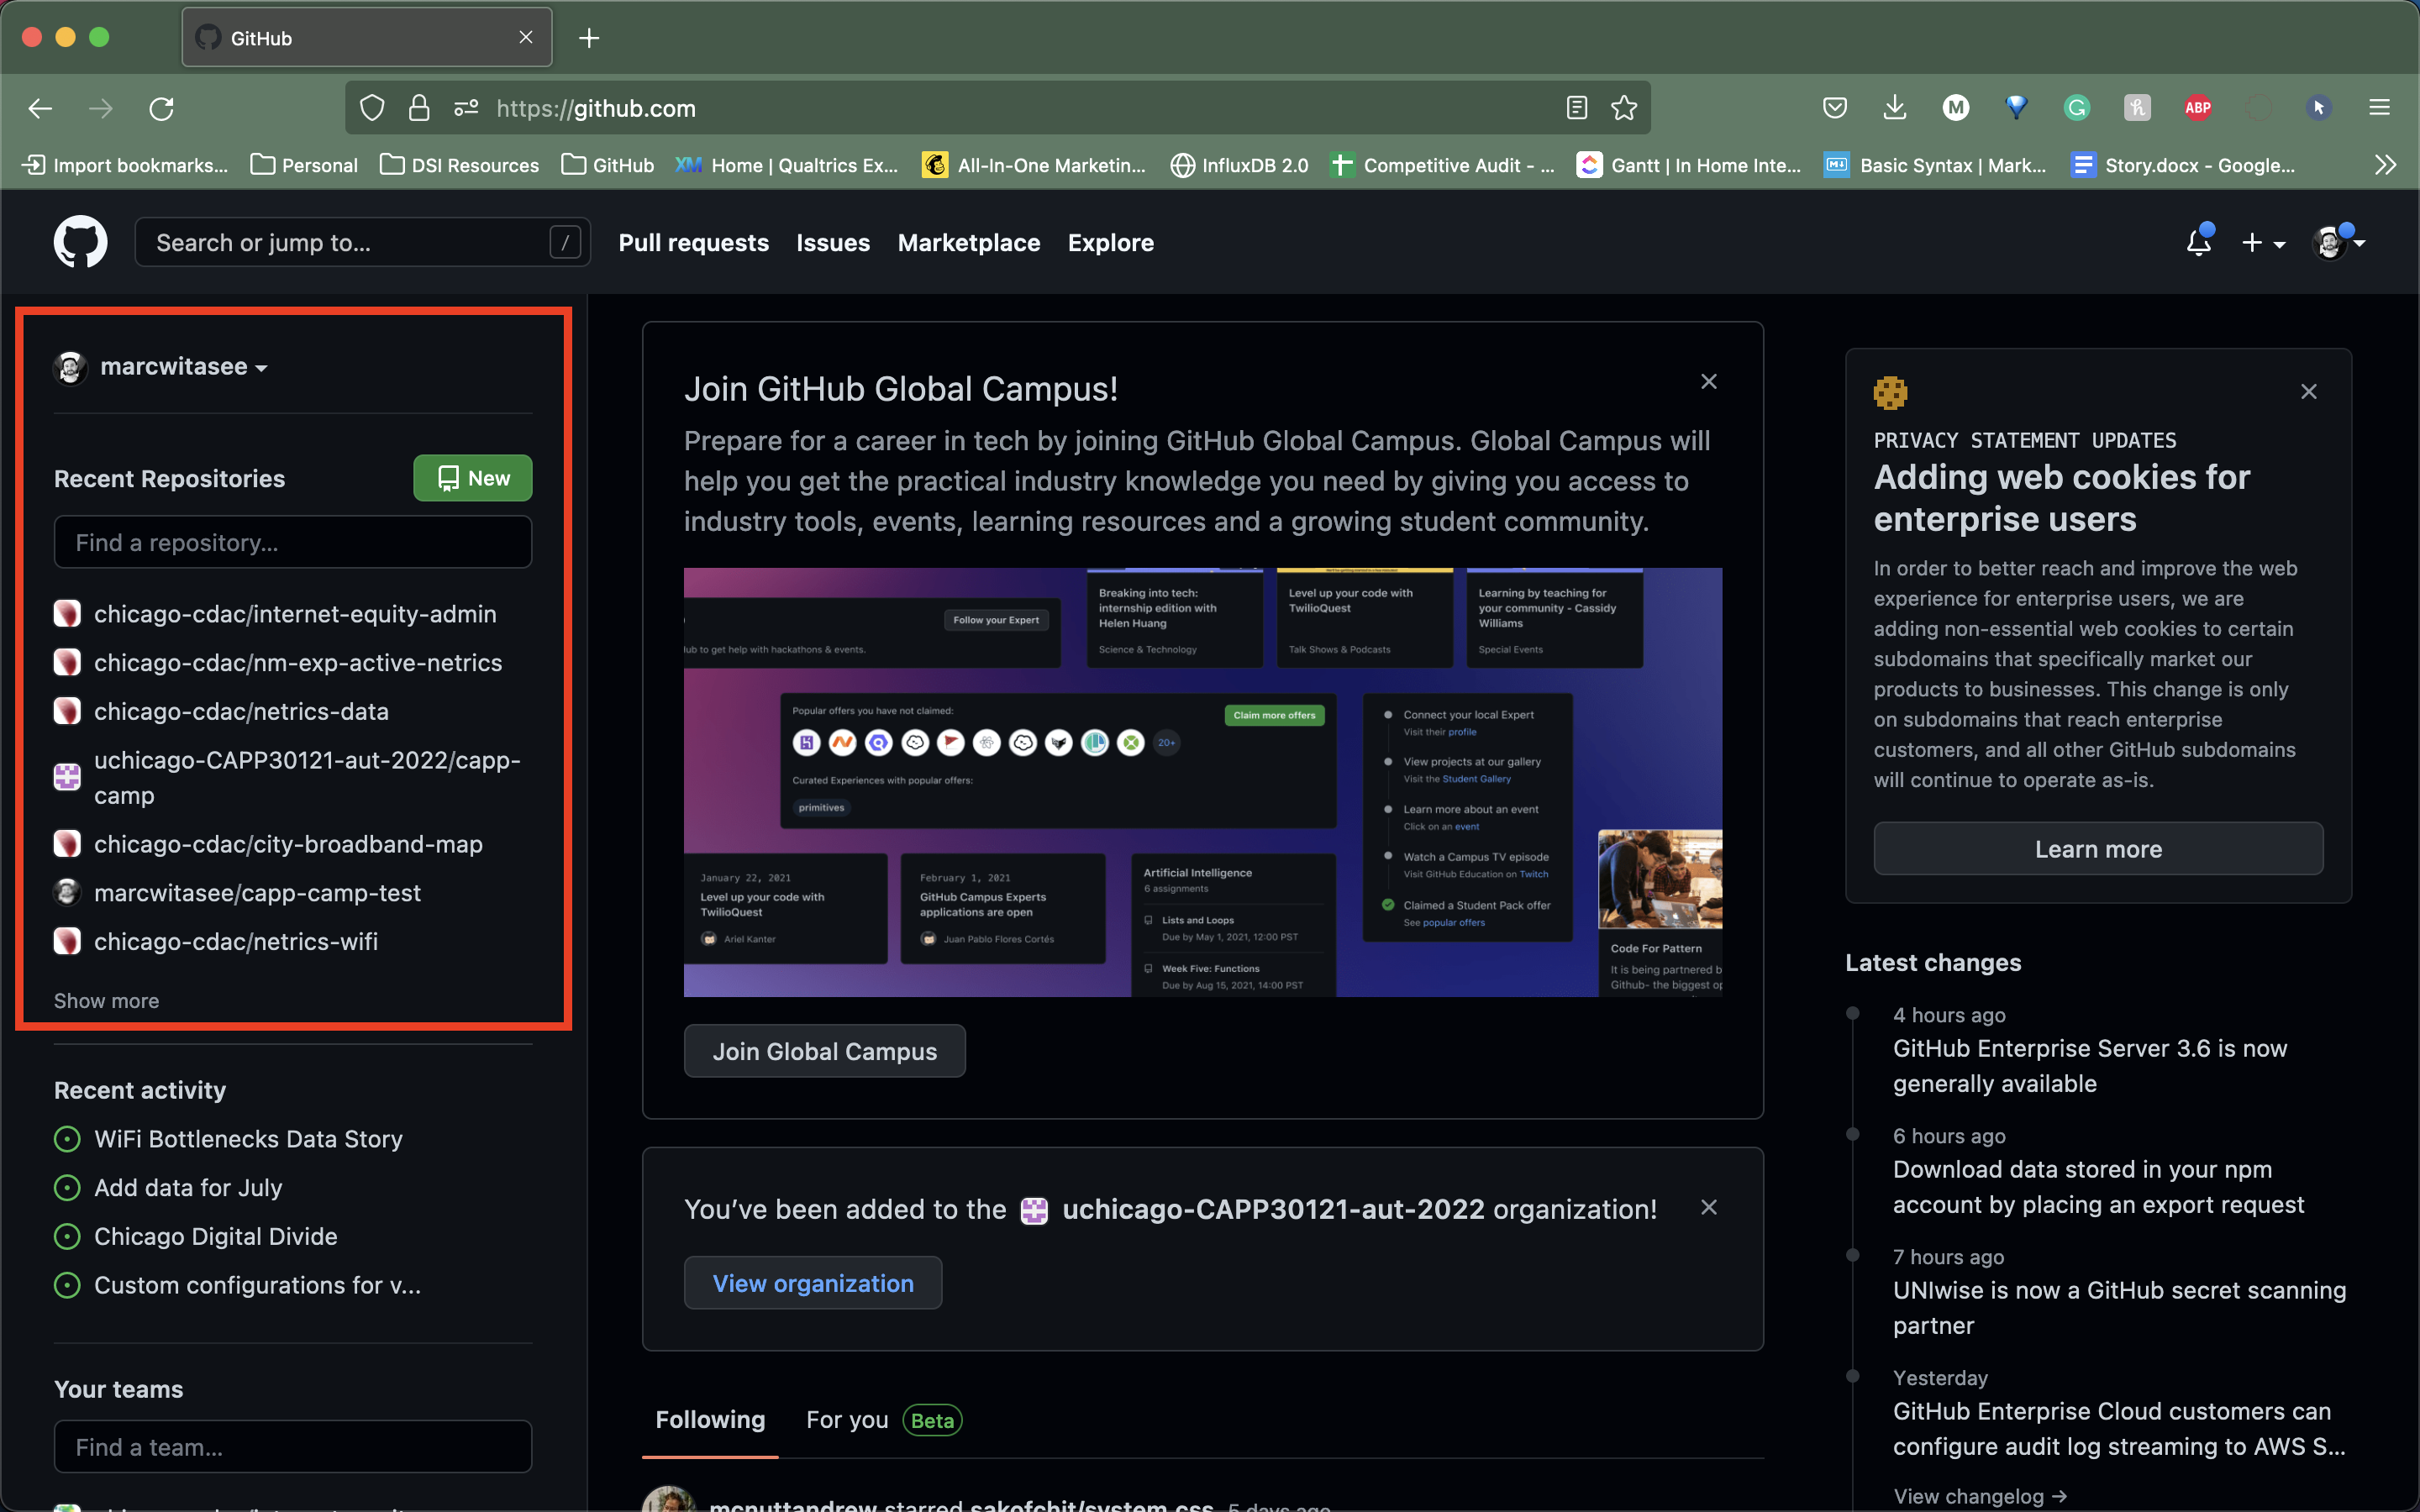
Clicking on the repository’s name will take you to a page where you can browse your repository through GitHub’s web interface. Since you haven’t initialized your repository yet, GitHub will provide you with instructions to initialize your repository. You can ignore those instructions. Instead, do the following:
-
Create a directory in your Linux home directory for CAPP 30121. The name and location of this directory is not important, so if you have a very strong preference for a different directory structure, you’re welcome to use it. Otherwise, we suggest you simply do this:
 cd
 mkdir -p capp30121/camp-1-GITHUB-USERNAME
 cd capp30121/camp-1-GITHUB-USERNAME
replacing GITHUB-USERNAME with your GitHub username. (The
-pflag to mkdir will create all the parent directories if needed; i.e., if you don’t already have acapp30121directory it will create one, and then will create acamp-1-GITHUB_USERNAMEdirectory inside it). -
Navigate to the folder you just created, create a file called
README.md, and add your full name to the file using an editor.VSCode Tip
You can create a new file using VSCode by running
code <filename>in a terminal window that is the opened in appropriate directory. (Recall that the notation<filename>is a placeholder that should be replaced with an acutal filename.) For this specific task, you can use the commandcode README.md.You must run the
codecommand in a terminal window open in your VSCode application. If you run thecodecommand from a standalone terminal window on your computer, you will get the following response:-bash: code: command not foundIf you see this output when attempting to run
code README.md, you are in the wrong terminal and need to switch to a terminal in the VSCode application.To open a new terminal in VSCode, select “Terminal > New Terminal” on the Menu Bar. The terminal that appears will use the default shell (i.e., bash for Linux). You can see the terminal listed according to its shell name on the righthand side of the terminal panel.
-
Run the commands below replacing
GITHUB_USERNAMEin the fifth command with your GitHub username. We encourage you to run these commands one at a time and to only move on to the next command when you are sure the first one succeeded.git init git add README.md git commit -m "first commit" git branch -M main git remote add origin git@github.com:uchicago-CAPP30121-aut-2022/camp-1-GITHUB_USERNAME.git git push -u origin mainDon’t worry about what each individual command does; we will be seeing what most of these commands do in this lab. If you encounter any error messages, please do make sure to let us know.
You can verify that your repository was correctly set up by going back to your repository’s page on GitHub, you should now see it contains a README.md file. If you click on it, you can see its contents.